Gypsophila Flower Crowns and flower balls are beautiful and add a romantic touch to your wedding. Label’ Emotion teaches you how to DIY yours.
Gypsophila Flower crowns
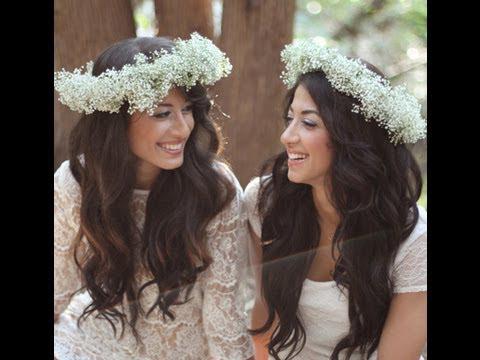
Flowers crowns are really trendy and give a romantic touch.They can be used for flower girls,bridesmaids and for beautiful brides too. If you are going for a gypsy wedding theme, a flower crown with gypsophila is really what you need. You’re lucky it is easy to do and we are going to tell you how!
You will certainly spend about an hour for one flower crown. To do it you‘ll need 4 gypsophila stems, a floral wire, flower tape (green or white), ribbon and a wire cutter or scissors.

First, you have to separate bunches from the stems. Then gather little bundles that you will join with the floral tape.
Then, use the floral wire length you need and wrap the floral tape around it. Place at the end of the tape one flower bundle and wrap it with the floral tape. Keep doing this all the way down of the wire, 2 flower bundles of each side will be needed.
When your crown is full, round it in the shape of a crown. Pinch the end of the crown and tie it with a ribbon so it can stay in place.


Voilà! Now you can rock your wedding flower crown
Gypsophila flower balls
Flower balls are hanging decorations that can be used to dress up a wedding aisle or above tables for example. The ones made of Gypsophila are perfect for bohemian and romantic weddings. Yet, it is pretty long to do it 1 to 2 and a half hours depending on the size.
What you need to make them: Gypsophila,foam balls, a pair of secateurs and ribbons.

Step 1: put the foam ball in the water until you feel the ball is completely wet and heavy.It will keep the water for quite a while and prevent the flowers from dying.You have to be gentle when moving the ball once it’s ready as it is quite fragile.

Step 2:Place the ribbon over the ball and secure it so that you can hang it without any trouble.

secure the ribbon
Step 3: make some 2 inches little bunches and cut them sharp so that you can insert them easily in the foam.

make some small bunches
Step 4: insert all the little bunches one by one next to one another until the ball is full
Step 5: Hang your ball on a tree or any support and make sure it is secure as the larger balls are really heavy.

TIPS: If you need to transport the ball, it’s better not to do the whole ball and leave one side undone.It will allow you to transport them without damaging the flowers.You will then hang them and finish to place the last bunches once it’s hung.
Now you know how to make gypsophilia’s flower crowns and flower balls, let see how you doing ! 😉
For more DIY ideas check out our are article on rustic weddings

Leave a Reply
Want to join the discussion?Feel free to contribute!